Tent Setup Guide: Master Your Gear in Under 15 Minutes
Stop letting a complicated tent setup ruin your first night under the stars.
Mastering tent setup is all about matching your gear to the terrain and preparing for the local weather before you even unroll the rainfly. By understanding whether you're working with a dome, cabin, or tunnel structure, you can go from a pile of nylon to a cozy home in under 15 minutes.
* Terrain First: Always prioritize a level surface and check for sharp debris that could puncture your floor. * Weather Readiness: Position your tent entrance away from prevailing winds to keep the interior calm and dry. * Know Your Gear: Memorize the specific pole sequence for your tent model to avoid structural damage. * Secure the Perimeter: Use guy lines and stakes at a 45-degree angle to ensure stability against sudden gusts.
Why Do New Campers Struggle So Much With Setup?
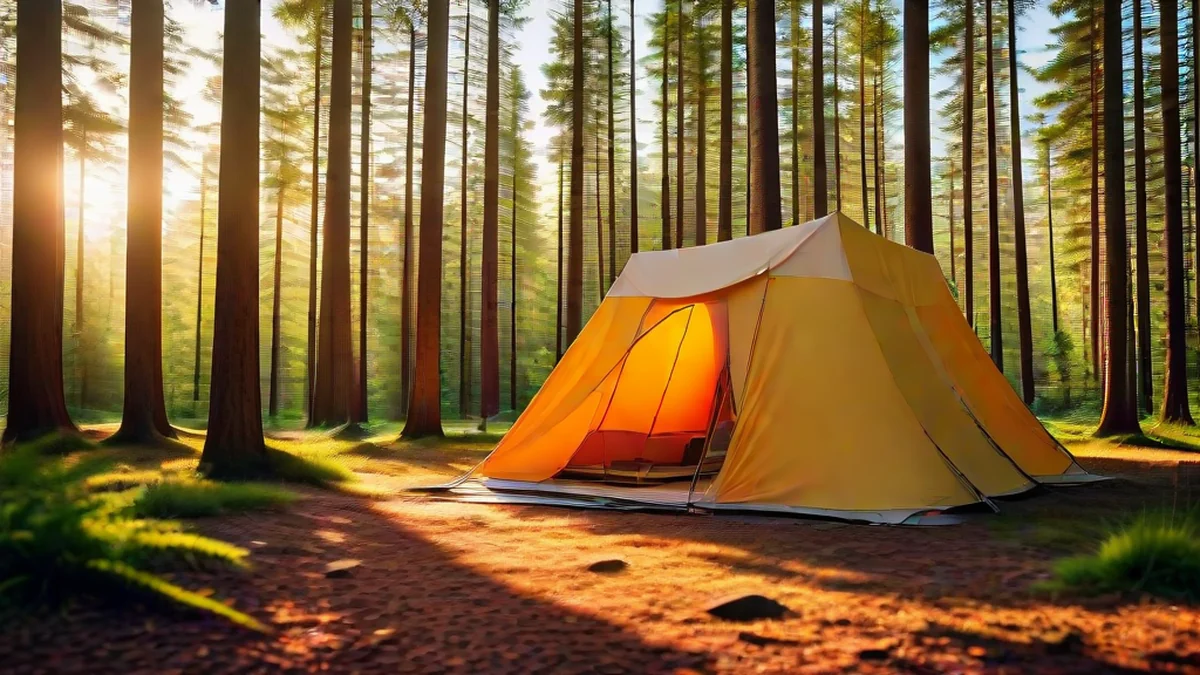
For many beginners, "pitching the tent" is the single biggest barrier to enjoying the great outdoors. It’s intimidating, physically demanding, and can feel incredibly frustrating when you're racing against a setting sun.
According to recent data from Google Trends, searches for "Camping Tent Setup" have seen a steady year-over-year increase, reflecting both the massive surge in outdoor enthusiasts and the steep learning curve newcomers face. It isn't just you feeling overwhelmed; it's a widespread phenomenon.
I remember my first trip to the Smoky Mountains back in 2024. I spent nearly two hours sweating and cursing at a pile of fiberglass poles, only to realize I had been trying to force them through the wrong sleeves. I almost tore my brand-new tent skin just by being impatient. The 2025 Outdoor Recreation Report notes that roughly 40% of first-time campers experience significant stress due to gear setup issues during their inaugural trip.
Setting up a tent isn't about brute strength; it's about understanding the engineering. Your tent is your primary defense against wind, rain, and insects—it's your mobile home. Learning these skills is less about "camping" and more about essential outdoor survival.

Choosing Your Strategy: Which Tent Type Do You Have?
You can't treat a lightweight backpacking tent the same way you treat a massive family cabin tent. Identifying your category is the first step to an efficient setup.
| Tent Type | Key Features | Setup Difficulty | Best For |
|---|---|---|---|
| Dome Tent | Lightweight, simple X-frame structure | Low (Easy) | Backpackers & Solo Campers |
| Cabin/Living Shell | Large, multi-room, vertical walls | High (Complex) | Families & Group Camping |
| Tunnel Tent | Long, arched poles; high interior volume | Medium | Couples & Small Families |
1. Dome Tents: The Quick Win Dome tents are incredibly intuitive. Most rely on two or three poles crossing at a central hub. If you're into ultralight backpacking, you might be using minimal poles, so pay close attention to the tension of the connectors to ensure the shape holds.
2. Cabin/Living Shell Tents: Foundation is Everything These are the heavy hitters favored by families hitting National Parks. Because they are large and heavy, your "foundation" work must be perfect. Lay out your footprint (ground cloth) first, then raise the main poles. If the fabric isn't pulled taut during this stage, you’ll end up with a cramped interior and massive condensation issues.
3. Tunnel Tents: Watch the Wind Tunnel tents use long, parallel poles to create an arched shape. While they offer amazing living space, they act like a giant sail in high winds. You need to position the narrowest end of the tent toward the wind direction to minimize resistance.
Adapting to Terrain and Unpredictable Weather
Nature rarely provides a perfectly manicured, flat lawn. Whether you are at a rocky site in Zion or a sloped forest in the Pacific Northwest, you have to adapt.
Dealing with Different Terrains * Flat Ground: Even on "flat" sites, aim for a slight natural grade for drainage. If you're in a low spot, consider digging a very shallow diversion trench around your site. * Sloped Ground: Always pitch your tent so that your head is at the highest point of the slope. Sleeping with your head lower than your feet is uncomfortable and can cause blood to rush to your head.
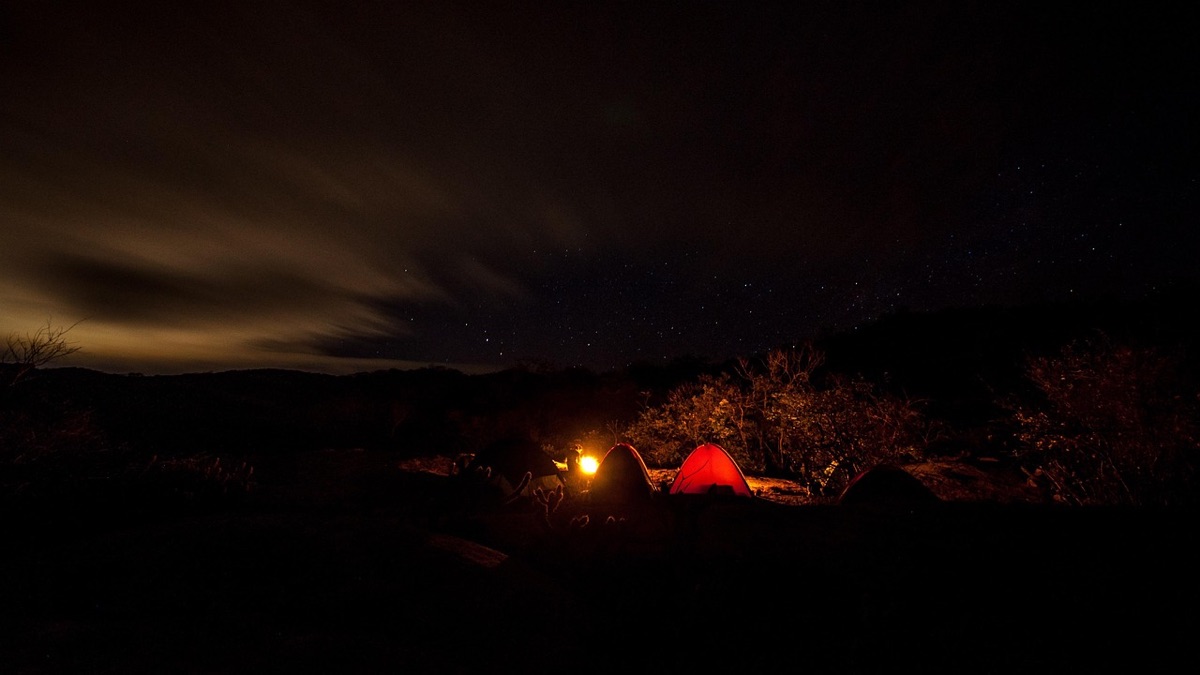
Weather Reinforcement Techniques Sudden storms can turn a relaxing trip into an emergency. As we saw during the heavy summer storm season in 2025, failing to secure stakes or manage drainage can lead to a flooded tent in minutes.
- High Winds: Maximize your guy lines. Connect every available cord to a stake and pull them taut; this stabilizes the structure against buffeting winds.
- Heavy Rain: Use a tarp as an extra layer of protection. Setting up a tarp overhead before pitching the tent provides immediate shelter from rain and sun. Also, drive your stakes deeper than usual to prevent them from "floating" out of soft, wet soil.
The 5-Step Foolproof Setup Process
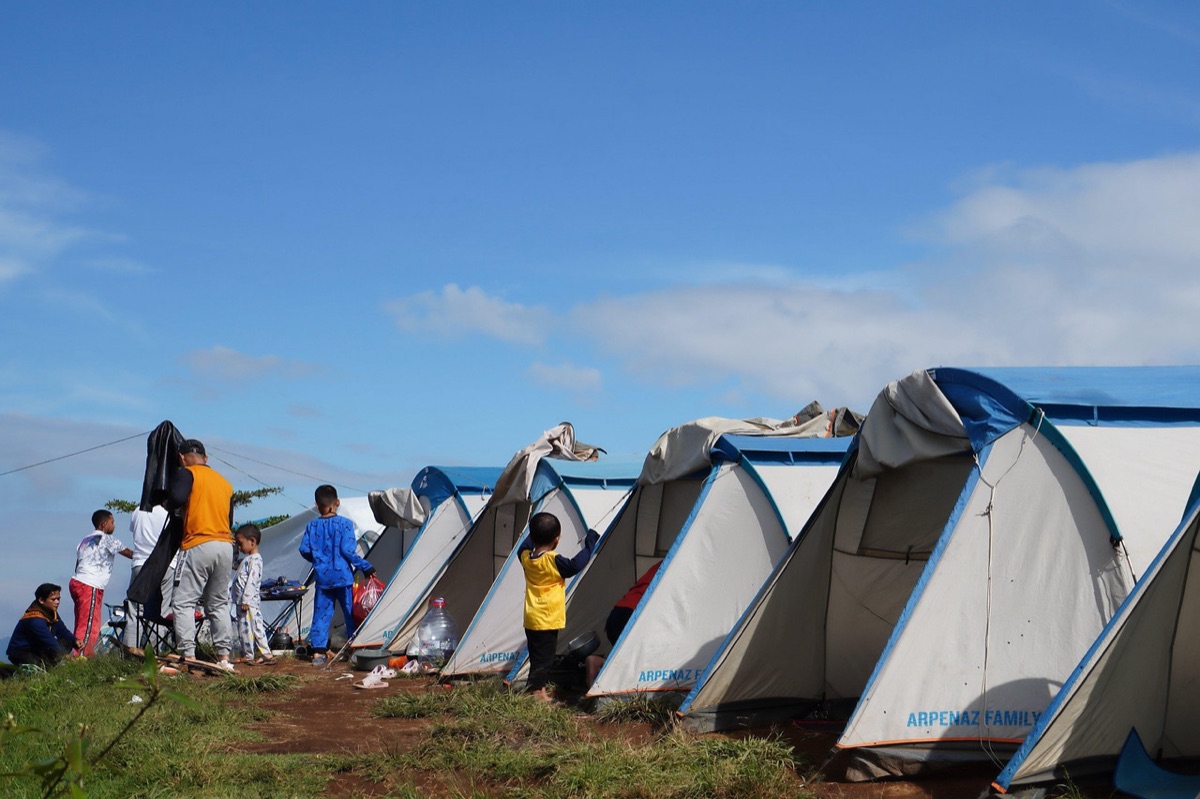
To save you the headache I went through, follow this exact sequence. It's the most efficient way to get settled without losing your mind.
- Site Selection & Cleanup: Once you pick a spot, clear away every rock, twig, and pinecone. A single sharp stone can puncture your expensive tent floor overnight.
- Lay the Footprint: Spread your ground cloth, ensuring it is slightly smaller than the tent itself. If the footprint sticks out from under the tent, it will catch rainwater and funnel it directly underneath you.
- Pole Assembly & Connection: Connect your poles by sliding the segments together firmly. Don't force them; if they aren't clicking or seating properly, check for debris in the joints to avoid snapping a pole.
- The Stake-Out (Peg Down): Start at the corners. Always drive stakes into the ground at a 45-degree angle pointing *away* from the tent. This provides much higher holding power than vertical stakes.
- Tensioning: The final step is pulling your guy lines tight. When you tap the side of the tent with your hand, it should sound like a drum—taut and firm. This prevents sagging and helps manage condensation.
Common Mistakes to Avoid
One of the most frequent errors I see is "vertical staking." If you drive a stake straight down into the ground, a gust of wind will pull it right out. Always angle them.
Another issue is over-stressing the poles. Modern lightweight aluminum poles are incredibly strong, but they have limits. Never force a pole into a sleeve that feels too tight; "slow and steady" prevents expensive gear failures.
Finally, never assume you're done just because the tent is standing. Spend one extra minute checking every stake and tension line. That sixty-second check is the difference between a restful night and a midnight scramble to fix a collapsing tent.




Comments 0