Camping Gear Guide: 5 Essential Tips for Beginners
"Don't let your first camping trip become an expensive lesson in regret; learn how to build a functional kit without overspending on gear you won't use."
To choose the right gear, you must first define your camping style—Family, Car Camping, or Backpacking—because the specs for a heavy-duty family tent will fail you on a mountain trail.
Prioritize the "Big Three" (Shelter, Sleep System, Lighting) for your budget, and follow the rule of buying for the lifestyle you own, not the one you dream of having.
* Lifestyle First: Define your mode (Family, Car, or Backpacking) before looking at brands to avoid mismatched specs. * The 'Core vs. Accessory' Rule: Prioritize high-investment items (Shelter/Sleep System) and opt for budget-friendly accessories. * Quality over Quantity: One high-quality tent is better than five cheap, mismatched sets that fail in bad weather. * The Scalability Principle: Buy gear that can grow with you to avoid immediate replacement costs.

How do I define my camping style before buying anything?
Walking into a massive outdoor retailer like REI or Bass Pro Shops for the first time feels like walking into a cockpit of a fighter jet—there are too many buttons, too many fabrics, and too many price tags to make sense of.
In July 2025, I stood in a crowded aisle staring at a $600 technical shell, wondering if I actually needed it for a weekend at a state park in Tennessee.
The most common mistake is buying for a hypothetical version of yourself. If you buy a massive, heavy canvas tent because you think you'll become a "glamper," you will realize too late that it won't fit in your sedan or your small apartment.
There are three distinct paths to own: 1. Family Camping: Focuses on space, comfort, and ease of setup. You need larger footprints and more "living" space. 2. Car Camping: Focuses on utility and comfort. Since the vehicle carries the weight, you can afford heavier, more durable materials. 3.
Backpacking: Focuses on weight and compactness. Every ounce matters, and durability must be balanced against portability.
Before you swipe your card, run the "Frequency Test." If you plan to go once a year, buy entry-level gear that gets the job done. If you plan to go every other weekend, invest in mid-range gear that can handle repeated use.
Finally, use the 60/40 Budget Rule: allocate 60% of your total budget to your Shelter and Sleep System, and the remaining 40% to Kitchen and Utility items.
But deciding on a style is only the beginning of the logistical headache.
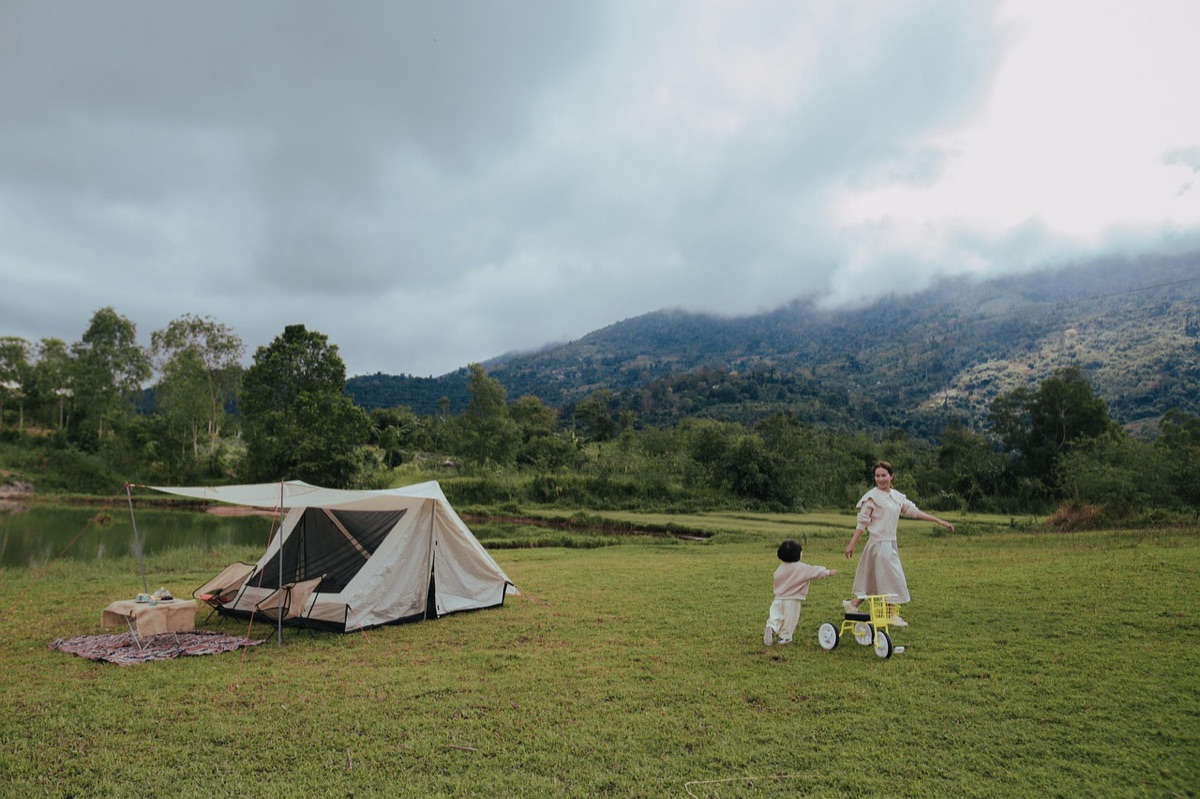
What are the essential gear categories and how do I prioritize them?
Sitting on a folding chair at a campsite in the Blue Ridge Mountains during a rainy evening in 2025, you realize that the most expensive item in your kit isn't the one that makes you comfortable—it's the one that keeps you dry and warm.
If your tent leaks or your sleeping pad is too thin, the most expensive stove in the world won't save your trip.
You must categorize your needs into the "Non-Negotiables" and the "Nice-to-Haves."
The Big Three (The Non-Negotiables): * Shelter: Your tent and tarp. This is your primary defense against the elements. * Sleep System: Your sleeping bag, sleeping pad, and pillow. This determines if you actually rest or just stare at the ceiling. * Lighting: Headlamps and lanterns.
Without light, the campsite becomes a dangerous obstacle course at night.
The Kitchen Hierarchy: * Level 1: Stove/Fuel (The ability to cook). * Level 2: Cooler/Storage (The ability to keep food safe). * Level 3: Table/Chairs (The ability to relax).
When building your first checklist, focus on the "Must-Haves" first. For a first trip, you need a tent, a sleeping bag, a sleeping pad, a headlamp, a stove, and a water vessel.
Items like specialized trekking poles, bear canisters, or luxury camp chairs are "Nice-to-Haves" that can wait until your second or third trip.
| Category | Priority | Focus for Beginners |
|---|---|---|
| Shelter | Critical | Waterproofness & Ease of Setup |
| Sleep System | Critical | Insulation (R-Value) & Comfort |
| Lighting | High | Hands-free (Headlamps) |
| Kitchen | Medium | Portability & Fuel Efficiency |
| Furniture | Low | Weight vs. Comfort Trade-off |
Getting the right categories right is vital, but understanding what those numbers on the box actually mean is where most beginners stumble.
How to analyze gear specs without being an expert?
Looking at the fine print on a tent's packaging can feel like reading a legal contract. You see terms like "Denier" and "R-Value" and wonder if they are just marketing gimmicks designed to drain your bank account.
To navigate this, you need to understand three specific technical concepts.
First, in the world of fabrics, you will see Denier (D). This measures the thickness of the fibers. A higher Denier means a more durable, heavier fabric, while a lower Denyier is lighter and more breathable.
For a car camper, a higher Denier is great for longevity; for a backpacker, you want to keep it low.
Second, for waterproofness, look for the Water Column (mm) rating. This indicates how much water pressure the fabric can withstand before leaking. For most casual camping, a rating of 1,000mm to 1,500mm is sufficient for light rain, but if you are in a heavy downpour zone, you want higher.
Third, for sleeping, learn the R-Value. This is the measure of thermal resistance in your sleeping pad. If you are camping in temperatures below 50°F, you need an R-value of at least 3 or higher to prevent the ground from sucking the heat out of your body.
Finally, remember the +2 Rule for Capacity. If a tent is labeled for "4 People," it is designed for two adults and two children, or two adults with a mountain of gear. If you are two adults who want space for your bags, buy a 4-person tent. If you are three adults, you need a 6-person tent.
Understanding the numbers is one thing, but avoiding the trap of the retail aisle is another.
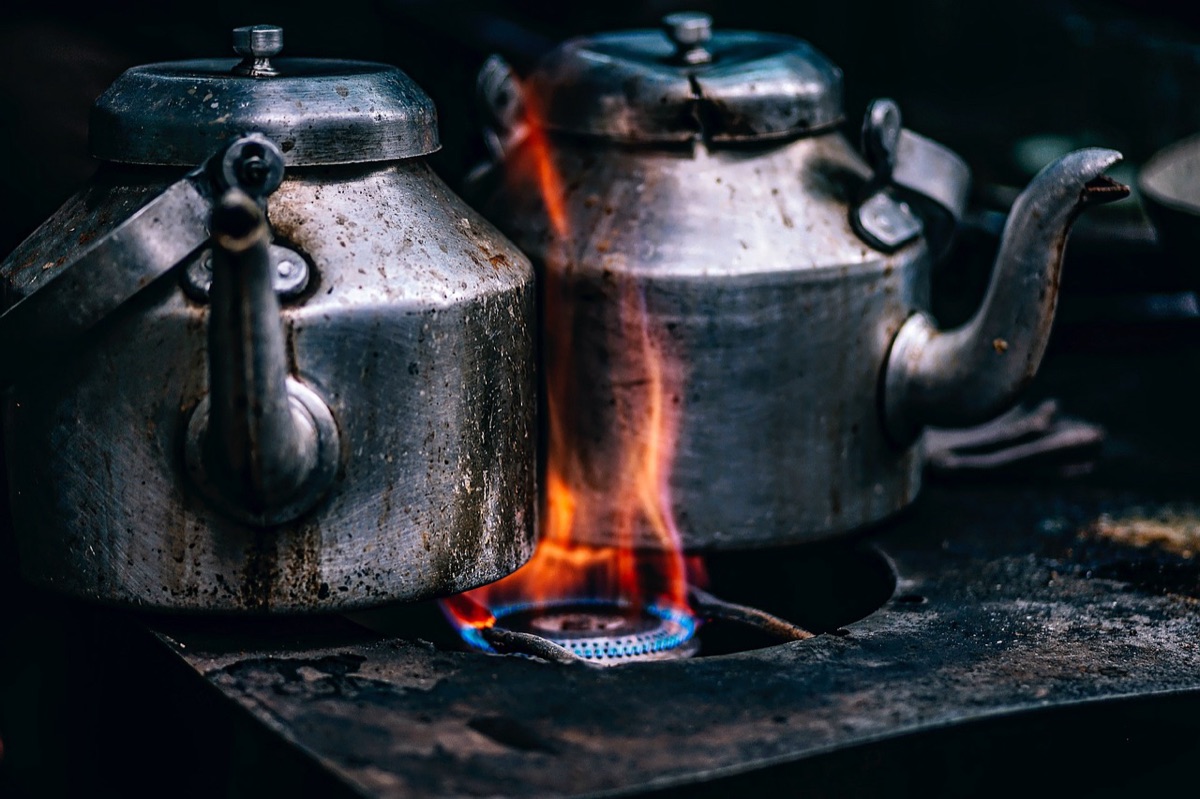
What are the common mistakes beginners make when shopping?
Standing in the middle of a camping supply aisle, it is incredibly easy to fall for the "shiny object" syndrome. You see a high-tech, titanium-colored stove and feel like you need it to be a "real" camper, even though you haven't even pitched a tent yet.
Avoid these three pitfalls to save thousands of dollars over the next few years.
The Brand Trap: Many enthusiasts fall in love with luxury brands that charge a 300% markup for a logo. For your first three trips, focus on reliable, mid-range brands that offer great value. You don't need a $800 tent to learn how to set up a basic shelter.
The One-Size-Fits-All Fallacy: This is the most common mistake. Buying a heavy, heavy-duty canvas tent for a backpacking trip is a disaster—you will never carry it into the woods.
Conversely, buying a paper-thin backpacking tent for a family camping trip will result in a miserable, cramped experience. Match the gear to the mode.
The "Too Much Too Soon" Error: Do not buy a full kit for a three-season lifestyle before you have even slept in a tent. Buying everything at once leads to "gear clutter" and wasted capital. Buy the basics, go on the trip, realize what you actually missed, and then buy the upgrade.
If you avoid these mistakes, you can begin to build a kit that actually evolves with you.
How to scale your gear from Beginner to Advanced?
As you transition from a novice to a seasoned outdoorsman, your gear needs will shift from "survival" to "specialization." A successful gear journey is a ladder, not a single jump.
To build your kit effectively, follow this timeline:
- Phase 1 (The Entry): Your goal is basic shelter and comfort. Focus on a reliable tent, a decent sleeping bag, and a simple stove. This is the "Survival" stage where you learn the basics of camp hygiene and setup.
- Phase 2 (The Upgrade): Once you know how you like to sleep, invest in better sleep systems. This means higher R-value pads for colder nights and more ergonomic pillows. You might also upgrade to more specialized kitchen setups like larger coolers or better cooking systems.
- Phase 3 (The Specialist): This is where you choose your path. If you become a backpacker, you move into ultralight, technical gear (carbon fiber poles, Dyneema fabrics). If you become a winter camper, you move into heavy-duty, four-season gear designed for snow and wind.
By following this phased approach, you ensure that every dollar spent is an investment in your growing expertise.
#




Comments 0